If you are using WordPress to create websites and projects you may notice the URL of the website looks something like Site_URL/hello-world, for the default page. Lets now see how to Add custom permalinks.
If you want to set the permalink settings to postname, and after adding “blog” to the post URL, your site URL will look like this Site_URL/blog/hello-world.
Now lets see how to do this on our WordPress Website :
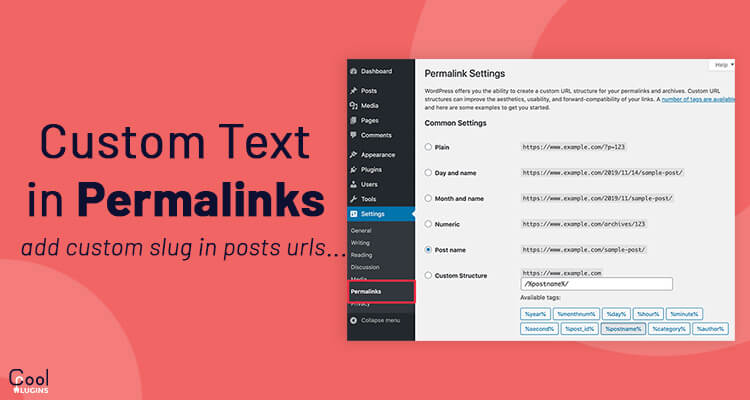
- Navigate to your WordPress Dashboard >> Settings >>Permalinks.
- Choose custom structure from the options and enter “/any_name/%postname%/.
- Now click on save the changes button, because if you will not save the changes then this change will not be affected on your website.
- Now check your post URL and it should contain the new name.
It’s not done yet because when you do this, it will also affect the post type and all the post (custom and default) in you website will look like :
SITE_URL/blog/post1
SITE_URL/blog/post2
If it will work for you no problem but if you don’t want a blog in your custom post type you have to add one more parameter.
While creating post type, we use register_post_type() method, both these functions have the rewrite key, add ‘with_front’ => false’ to this parameter to keep your URL unaffected.
Your code will look something like this :
// custom post type ‘product’
register_post_type( ‘product’,
array(
…
…
‘rewrite’ => array(‘slug’ => ‘product’, ‘with_front’ => false),
)
);
// custom taxonomy ‘product_cat’
register_taxonomy(
‘product_cat’,
‘product’,
array(
…
…
‘rewrite’ => array(‘slug’ => ‘product_cat’, ‘with_front’ => false),
)
);
After adding ‘with-front’ => false, to both register_post_type() and register_taxonomy(), update the permalinks on the permalinks settings. By this now you will see ‘/bog” on only the default and category posts but on the custom posts.


