Dynamic Content visibility in Elementor:
Dynamic Visibility for Elementor is a free plugin that does one simple thing very well, it allows you to show or hide information on your website using elementor Pro
Install the plugin:
- After installation set up the page, and edit the page with Elementor to use the plugin, and look where the options are available.
- On the page you can select any of the elements like it could be a widget or an entire section, it could be anything you can show or hide complete sections on the page if you want to.
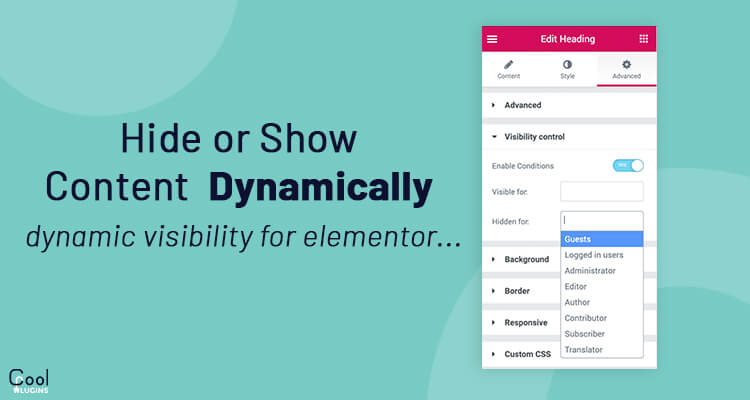
- Choose any section or the widget and on the left-hand sidebar you can see a new feature that is “visibility”.
- Click on it to expand, by default it is disabled.
- Once we enable that, we have a range of different options we can use to trigger and do various different things.
We have got many different options lets take a brief overview :
Visibility:
We enable visibility which enables this particular plugin to work on the page that we have opened.
- Hide this block:
- This option enables you to hide the element at the front end until it is enabled.
- Keep HTML:
- This is disabled by default and if you want to have the HTML as the part of the code inside the page which is hidden by CSS or you can totally hide the HTML code from the code totally.
- Display Mode:
- It shows or hides the various different elements that we are working on inside the Elementor editor when you are in the dashboard creating a page or template. So this is a quite useful option.
User Roles:
Here we have got lots of different options available, click to expand and we can see roles like editor, administrator, and so on. If you are using a plugin like woo-commerce where you may have extra sort of roles, they will show up inside here so they could be used as triggers as well.
You have also got the visitor options, for someone that’s not logged in.
By using this option you can display something to entice someone to become an actual subscriber, editor, administrator, etc you can do it by using a particular role.
- Selected User:
- You can use this option to trigger it upon specific users on your site.
- User Metadata:
- This is where we have a lot of options about meta information for every single user on the site.
- Enable refer:
- If you enable this option you can choose what site was visited prior to coming to our website. This could be useful if you are using targeted advertising.
Device and Browser:
We can use responsiveness as a trigger, we can remove or show code and we could do the same thing for mobile and tablet.
Under Browser we could choose the browser we want to use as a trigger.
Date and Time:
Here we can choose the date from and date until we want to trigger, it can be useful for a campaign that has an advert and we can trigger it from let say November to December, and after that, it will automatically disappear.
You can also choose days of a week and time in a day, in the same order as above.
Example:
Show the login button for logged-out users only.
- Go to the Dashboard >> Pages >> Choose the login page.
- Edit the page with Elementor >> choose the login button.
- On the left-hand sidebar >> choose visibility.
- Under user and role >> Select Role to Visitors(non logged user) >> Save
So this button will only show to the non-logged users and the users who are logged in can’t see this button. This is how visibility is controlled by using this plugin.
The above example is a simple example of how you can use this free plugin, but what it can demonstrate is how easy it is to start using it and start creating dynamic triggers that will specify where and when you can use these different sections of your page.


