Elementor has introduced a new feature, in which you can Add Custom Fonts to Elementor your website. Elementor has more than 800 default fonts on its library, but sometimes these are not enough, to stand out from the crowd now you can add your own custom fonts to your website.
Many designers want unique typography and unique fonts on their website to look different, Elementor has now added a new feature in which you do not need any extra plugin to upload your fonts on your website. Now you can simply upload your custom fonts, and they will appear on the widget typography settings on your website.
Adding Custom Fonts using Elementor:
In order to add custom fonts so that users can see them in their browser, fonts must be uploaded to the site as a standard file format.
Some of the font types :
- The Web Open Font Format (WOFF): It is the most recommended format to use as it is supported by all modern browsers
- The Web Open Font Format (WOFF 2.0): It provides better compression than WOFF(v 1.0)
- SVG Fonts/Shapes: Use this format to support old versions of the iPhone.
- Embedded OpenType Fonts (EOT) – This font file works on IE, but not on other browsers.
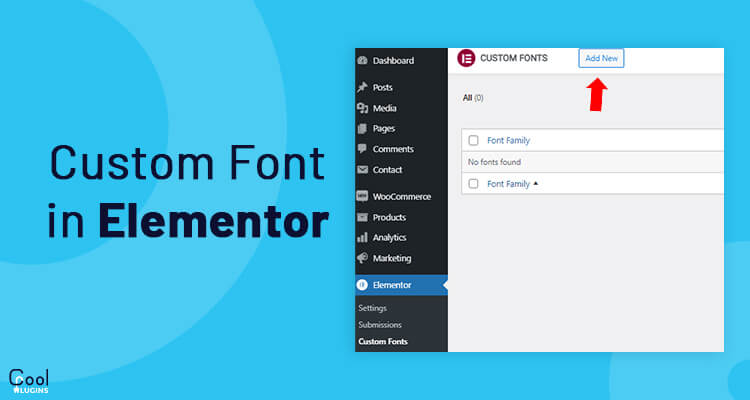
Step 1: Go to Dashboard > Elementor > Custom Fonts, and click ‘Add new’.

Step2: Now add any of the font types, it is suggested to add more font types to provide support for a maximum number of web browsers.

Step3 : Once your fonts are uploaded, you can add them to your website from the typography control of each widget that contains the text.
Let us say you want to add a heading using the custom font, add a heading widget to the canvas, and under style >> Typography settings, choose custom fonts.
By following these 3 simple steps you can add a custom font to your website and start using the font.


