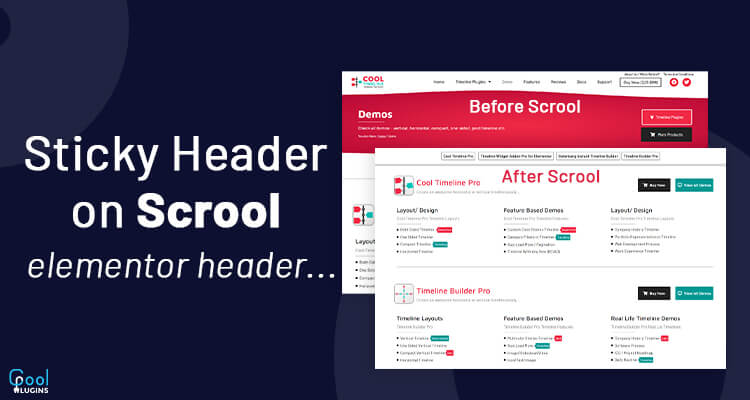
Lets Change Elementor page sticky header on scroll. A Sticky header is a widely used pattern, in which some content (the header) of the website sticks to a part of the screen when scrolling down.
It allows users to quickly access the navigation-utility element without scrolling again to the top of the page.
Changing Header is a technique in which we will be switching between two headers. initially, the first header will appear, and when a user scrolls through the website it changes to the second.
Change Elementor page sticky header on scroll:
Step1: Create a Header Template.
First of all, we need to create the header template.
To add it, from the dashboard navigate to Elementor >> Templates >> Theme Builder, and add a new header.
Step 2: Style both The Headers
In the header template, add both menus and style them accordingly and give the main header a z-index of 100.
Step3: Give Custom Class to both Headers
In the main header, navigate to the advance option and add header-1 in CSS classes. This is going to be the class for the main header.
For the secondary header which will appear when you scroll, navigate to the advance option and add header-2 in CSS classes.
Step 4: Make Secondary header sticky
Change the position of the secondary header to the top, and make the secondary header the sticky header, so to do that navigate to the Advance settings >> Motion effect >> Sticky >> Select Top.
Step 5: Secondary header Offset
Choose effect offset, and it means how many pixels the screen left before the effect takes place.
Step 6: Overlap the header using the Margin option
Navigate to the advance setting of the main header and select the negative margin to overlap the secondary header.
Go to the custom CSS of 2nd header and paste this code :
For Slide In Header :
/* Slide In From The Top Option */
.header-2 {
transform: translatey(-80px);
-moz-transition: all .3s ease!important;
-webkit-transition: all .3s ease!important;
transition: all .3s ease!important;
}
.elementor-sticky–effects.header-2 {
height: auto!important;
transform: translatey(0px);
}
.elementor-sticky–effects.header-1 {
display: none!important;
}
/* End Of Slide In From The Top Option */
For fade in header:
/* Fade In Option */
.header-2 {
opacity: 0;
-moz-transition: opacity .25s ease-out!important;
-webkit-transition: opacity .25s ease-out!important;
transition: opacity .25s ease-out!important;
}
.elementor-sticky–effects.header-2 {
opacity: 1!important;
}
/* End Of Fade In Option */
After this update the template. In this way, you can add a changing header to your website.


